Home | Saltwater Flies | Fly Tying Materials | Saltwater Fly Fishing Accessories
Ordering Instructions, Shipping rates, Your Satisfaction Guaranteed | Site Map
Tying the Extreme Deceiver - Steps 12 to Finish
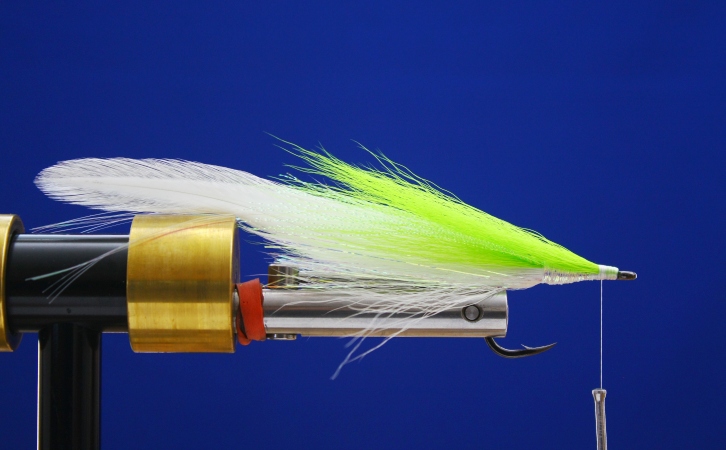
| Step 12: Cut a bundle of chartreuse bucktail about half the thickness of a pencil and secure it on top of the hook shank, just behind the hook eye. Make sure none of the hairs protrude and obscure the hook eye. |
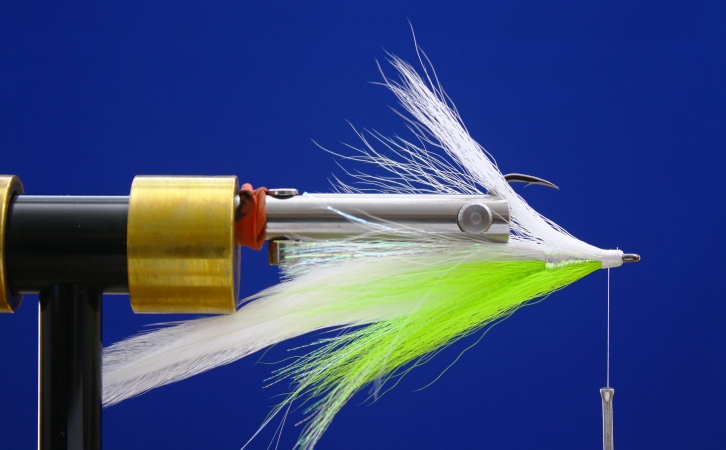
| Step 13: Replace the hook in your vise so the hook point is oriented upward – or, again, simply rotate the vise. Cut a bundle of white bucktail about the half the thickness of a pencil, and attach it opposite the chartreuse bucktail just behind the hook eye. |
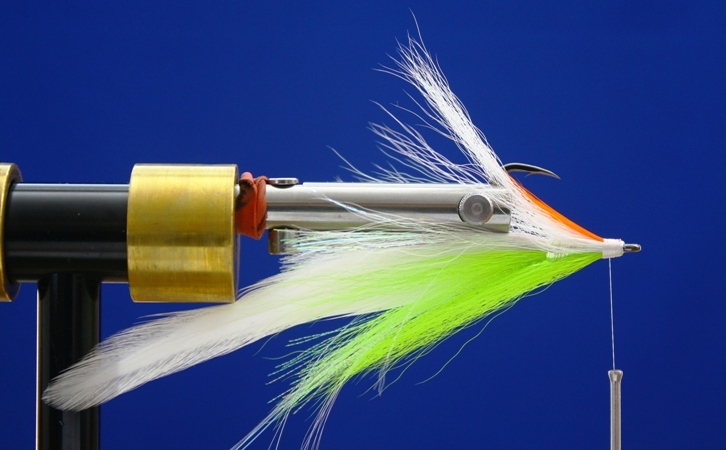
| Step 14: Cut a bundle of orange bucktail about the thickness of your bobbin and about as long as the entire hook. Secure this on top of the white bucktail, again just behind the hook eye. This little bit of color really adds a nice touch to a larger deceiver. |
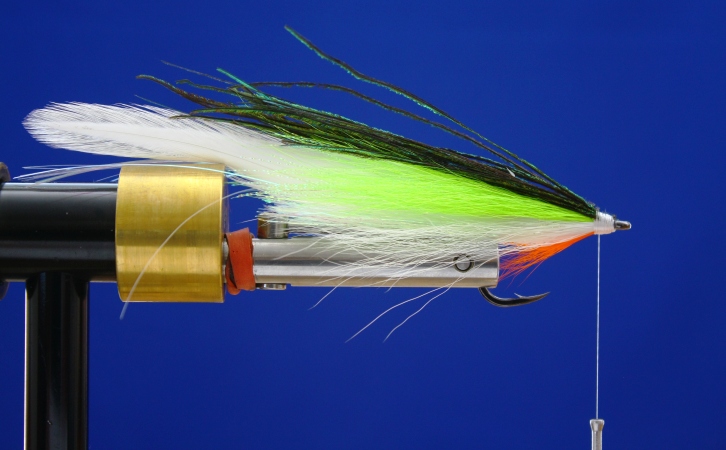
| Step 15: Flip the hook so that it is upright and attach a bundle of ten peacock herls on top of the chartreuse bucktail. The peacock herls should be about two-thirds the length of the entire fly: if longer, do not cut the tips, but their base sections before they are attached. |
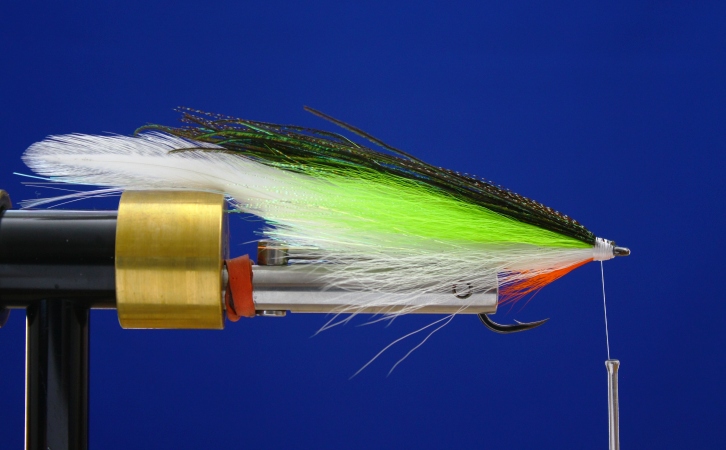
| Step 16: Attach approximately ten strands of black Krystal Flash on top of the peacock herl, using only several turns of thread to avoid creating unecessary bulk at the thread head. |
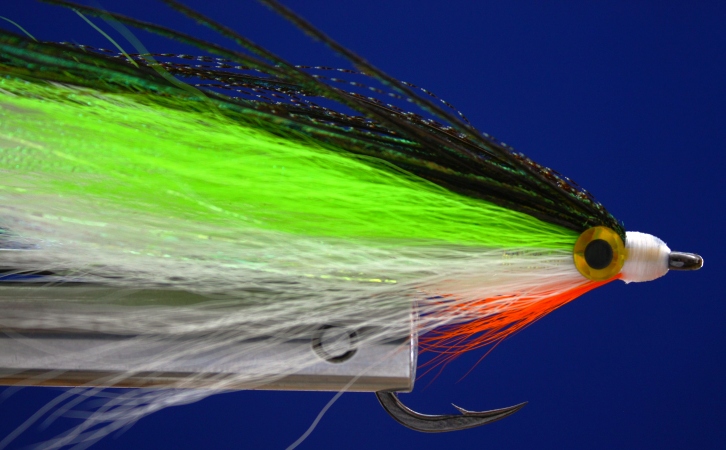
| Step 17: Attach yellow gold adhesive eyes and make thread wraps to form an even cone just behind the hook eye. While there are many different styles of adhesive eyes, some have a small tab that can be tied down to prevent them from shifting while you apply epoxy. |
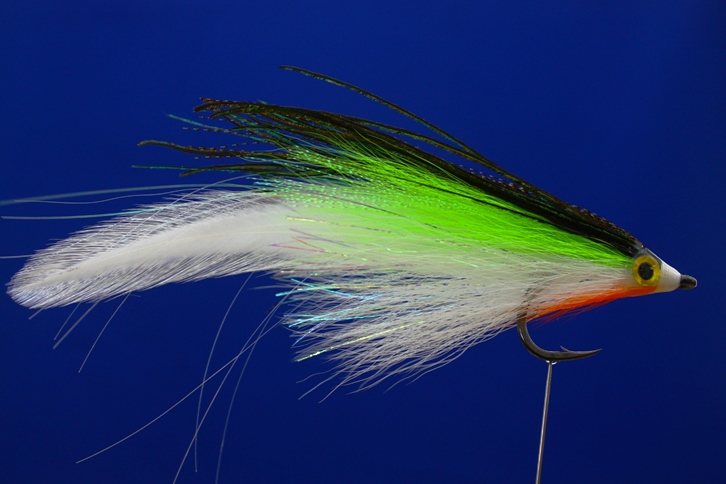
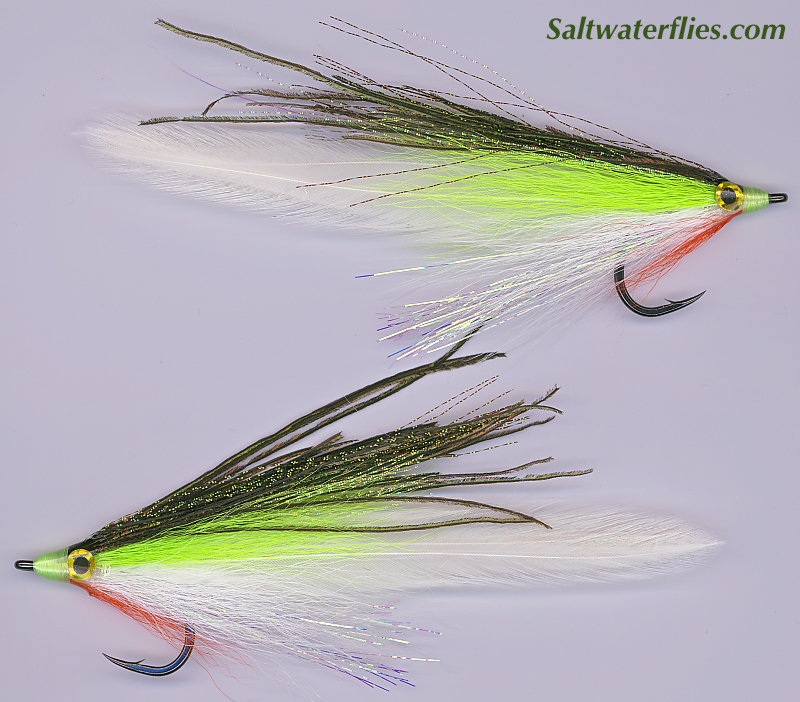
| Step 18 - The Completed Fly: Finish the thread head with two coats of epoxy, allowing it to cure between coats on a turning wheel. Apply the epoxy so that it overlaps the thread head onto the bucktail wing and fully covers the adhesive eyes, but not further than that - be sure that the epoxy coating will not obscure the hook gap once it dries. If you are new to using epoxy, you might want to read this epoxy tutorial. |
| Since this fly is effective for a wide variety of species and conditions, consider making a few variations in several sizes and colors. Pink, blue, and purple are all popular subsitutes for chartreuse. If you do make it much smaller, simply omit the first two bucktail wings to avoid unnecessary bulk. |
| One last note: this fly takes patience to tie well. It can be difficult to “control” the very stiff tail feathers as well as the large bundles of bucktail. I recommend clearing a large space in your fly-tying area, preparing your materials in advance, and allowing yourself plenty of time. If you are making more than one, you may also consider tying the a set of flies in steps, i.e. making all the hackle tails before moving on to the bucktail "wings" or epoxy - this can really help create consistency in your flies when you are tying more than one or two. |